


Merhaba
Daha önce bir çok farklı Backup ( Yedek ) çözümlerinin kurulumu ve yapılandırması ile ilgili yazılarımızı sizlerle paylaşmıştık. Bu yazımızda da Altaro VM Backup 8.13 kurulumu ve yapılandırmasını anlatıyor olacağız. Altaro VM Backup 8.13 yazılımında ilk göze çarpan durum kurulum ve yapılandırmanın son derece kolay olduğu diğer Backup ( Yedek ) çözümlerinden farklı olarak kurulum sırasında Microsoft SQL Server gibi bir kuruluma ihtiyaç duymaması ilk göz çarpan farklılıklardan biri olarak karşıma çıktı.
Altaro VM Backup yazılımı esnek, hızlı ve güvenli bir yazılım olarak karşımıza çıkıyor. Microsoft Hyper-V ve VMware platformlarında çevrimiçi hale getirmek ve Backup ( Yedek ) için güzel bir çözüm olarak görünmektedir.
Altaro VM Backup yazılımı Microsoft Hyper-V platformlarında için güvenilir Backup ( Yedek ) ve Replication ( Replikasyon ) işlemlerinin yapılması kolaylaştırır. Microsoft Hyper-V VSS, Virtual Machine ( Sanal Makine ) Backup ( Yedek ) sıfır aksama süresiyle alınmasını sağladığını belirtmektedirler.
Kolay ve Kullanıcı dostu bir ara yüzü ile, Backup ( Yedek ), Restore ( Geri Yükleme ) ve Replication ( Replikasyon ) işlerini hızlı ve güvenilir bir şekilde yapılandırmayı ve çalıştırmayı kolaylaştırarak gelişmiş görevleri gerçekleştirebilirsiniz.
Lisanslama ;
- Freeware : 2 Adet Virtual Machine ( Sanal Makine ) Ücretsiz
- Standart : Host Sunucu başına lisanslanmaktadır. 5 Adet Virtual Machine ( Sanal Makine )
- Unlimited : Host Sunucu başına lisanslanmaktadır. Sınırsız Virtual Machine ( Sanal Makine )
- Unlimited Plus : Host Sunucu başına lisanslanmaktadır. Sınırsız Virtual Machine ( Sanal Makine ) bunlara ilave olarak Microsoft Azure desteği bulunmaktadır.
Kuruluma başlamadan önce Altaro VM Backup sistem gereksinimlerini ve support versiyonlarını aşağıdaki gibidir.
Supported Hypervisors (Hosts)
Microsoft Hyper-V
- Windows Server 2008 R2 SP1
- Windows Hyper-V Server 2008 R2 SP1 (core installation)
- Windows Server 2012
- Windows Hyper-V Server 2012 (core installation)
- Windows Server 2012 R2
- Windows Hyper-V Server 2012 R2 (core installation)
- Windows Server 2016
- Windows Server 2016 (desktop experience)
- Windows Hyper-V Server 2016 (core installation)
- Windows Server 2019
- Windows Hyper-V Server 2019 (core installation)
VMware
- vSphere: 5.0 / 5.1 / 5.5 / 6.0 / 6.5 / 6.7
- vCenter: 5.0 / 5.1 / 5.5 / 6.0 / 6.5 / 6.7
- ESXi: 5.0 / 5.1 / 5.5 / 6.0 / 6.5 / 6.7
It’s important to note the version combination between ESXi and vCenter. Note that the Free version of VMware ESXi is not supported as it lacks components required by Altaro VM Backup.When making use of the NBD Transport mode, virtual disks cannot be larger than 1TB each. More information here.
Supported Operating Systems
The Altaro VM Backup products can be installed on the following OS’s:
Altaro VM Backup
- Windows Server 2008 R2 SP1
- Windows Hyper-V Server 2008 R2 SP1 (core installation)
- Windows Server 2012
- Windows Hyper-V Server 2012 (core installation)
- Windows Server 2012 R2
- Windows Hyper-V Server 2012 R2 (core installation)
- Windows Server 2016
- Windows Server 2016 (desktop experience)
- Windows Hyper-V Server 2016
- Windows Server 2019
- Windows Hyper-V Server 2019
Altaro Management Tools (UI)
- Windows 2008 R2 SP1
- Windows Server 2012
- Windows Server 2012 R2
- Windows Server 2016 (desktop experience)
- Windows Server 2019
- Windows 7 (64-Bit)
- Windows 8 (64-Bit)
- Windows 10 (64-Bit)
Altaro Offsite Server
- Windows 2008 R2 SP1
- Windows Hyper-V Server 2008 R2 SP1 (core installation)
- Windows Server 2012
- Windows Hyper-V Server 2012 (core installation)
- Windows Server 2012 R2
- Windows Hyper-V Server 2012 R2 (core installation)
- Windows Server 2016
- Windows Server 2016 (desktop experience)
- Windows Hyper-V Server 2016
- Windows Server 2019
- Windows Hyper-V Server 2019
Replication Support
[Hyper-V] A Windows Server OS is required for replication. The Altaro Offsite Server needs to be installed on a Windows Server OS that’s matching the source host OS, where the production VMs are running. Below you can find a list supported OS’s that you can replicate to:
| Host OS | Supported Replication Altaro Offsite Server OS |
| 2012 | to 2012 |
| 2012R2 | to 2012R2 |
| 2016 | to 2016 |
| 2019 | to 2019 |
[VMware] The host added to the Altaro Offsite Server must be the same OS as the source host being replicated from. Below you can find a list supported OS’s that you can replicate to:
| Host OS | Supported Replication Host OS |
| 5.5 | to 5.5 |
| 6.0 | to 6.0 |
| 6.5 | to 6.5 |
| 6.7 | to 6.7 |
Required Hardware Specifications
Altaro VM Backup
- Minimum of i5 (or equivalent) processor
- 1 GB RAM + an additional 25MB RAM for every 100GB of data being backed up
- 1 GB Hard Disk Space (for Altaro VM Backup Program and Settings) + 15 GB (for temporary files created during backup operations)
- Minimum of 10% free disk space on each volume holding live VM data to be used for Microsoft Volume Shadow Copy
Altaro Hyper-V Host Agent
- 500 MB RAM
Altaro Offsite Server
- Minimum of i5 (or equivalent) processor
- 1 GB RAM + an additional 25MB RAM for every 100GB of data being backed up
- For Replication, ensure that it has enough resources to boot your VMs
Software Prerequisites
- MS .NET Framework 4.6.2 and 4.7 (required for TLS1.2) on Windows Server 2012
- Minimum screen resolution for the Altaro Management console: 1280×800
Communication Ports
Below is a list of the default TCP ports used by our software and their purpose. All these ports must be allowed.
35106 : Communication for VMware 6.5, Backup and Restore operations.
35107 : Communication between Management Console UI and Altaro VM Backup
35108 : Communication from Altaro VM Backup to Altaro Hyper-V Host Agents
35114 : Communication for the Altaro Deduplication Service
35116 & 35117 : Communication from v7 Clients with the Altaro Offsite Server
35119 : Communication from Altaro Offsite Server V7 UI to Altaro Offsite Server
35120 : Communication from Altaro VM Backup to the Altaro Offsite Server for Replication
35121 : Communication for the Altaro Deduplication Service for Amazon S3/Wasabi offsite locations
35221 : Communication between the Altaro Hyper-V Host Agents and Altaro VM Backup
35200 – 35220 : Communication from Altaro VM Backup to Agents for VMware Boot From Backup
80 & 443 : For Offsite copies to Azure Storage Accounts, Amazon S3 & Wasabi
443 & 7444 & 902 : Communication to VMware Hosts
Supported Backup Locations
- USB External Drives
- eSata External Drives
- USB Flash Drives
- Fileserver Network Shares using UNC Paths
- NAS devices (Network Attached Storage) using UNC Paths
- PC Internal Hard Drives (recommended only for evaluation purposes)
- RDX Cartridges
- Altaro Offsite Server (incl. Replication)
- Azure Cloud Storage Account
- Amazon S3
- Wasabi Cloud Storage Account
Note: Target storage partitions must be either of the below:
- NTFS/ReFS formatted
- Network Paths and accessible by SMB3.0
Note: Please ensure that the backup location chosen does not perform any sort of deduplication outside that of Altaro VM Backup.
Boot from Backup Requirements
- For Hyper-V Windows Server 2012 Host OS and onward are supported for Boot from Backup Drive. The Microsoft iSCSI Initiator Service has to be running on the machine you’re attempting to boot to.
- VMware requires ports 35200 – 35220 open on the firewall and it also requires an iSCSI Storage Adapter. More information on that here.
- The datastore chosen for must be VMFS.
File Level/Exchange Item Level Restore Requirements
- The partition must be NTFS/ReFS (through Instant Mount) (only for File Level) formatted
- The partition must be formatted as ‘Basic’ and not ‘Dynamic’
- If the VM has Windows Data Deduplication role enabled, the role must also be enabled where the Altaro VM Backup machine is installed (through Instant Mount) (only for File Level)
- The files must NOT be encrypted or compressed at guest OS (VM) level
- Microsoft Exchange 2007 and later are supported up to Exchange Server 2019 Cumulative Update 4 (CU4)
Hyper-V Restore Version Compatibility
Virtual Machines backed up from Windows Server 2008 R2 SP1 and 2012 hosts have to be restored to hosts running Windows Server 2016 build 1607 or older.
Virtual machines backed up from Windows Server 2012 R2 and newer can be restore to hosts running up to Windows Server 2019.
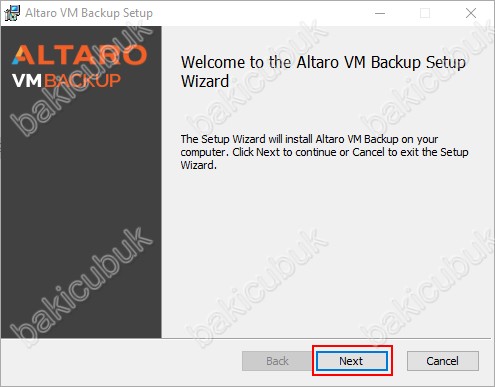
Altaro VM Backup dosyasını çalıştıyoruz.
Welcome to the Altaro VM Backup Setup Wizard ekranın da Next diyerek devam ediyoruz.
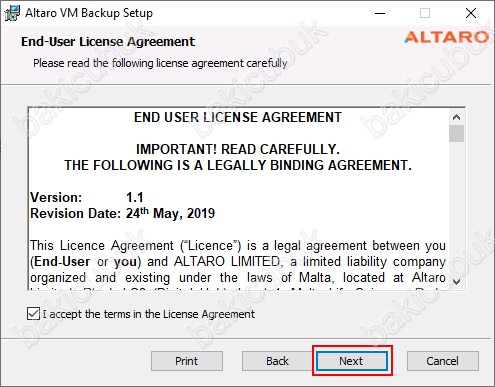
End-User License Agreement ekranın da I accept terms the License Agreement seçeneği işaretleyerek Lisans sözleşmesini kabul ediyoruz ve Next diyerek devam ediyoruz.
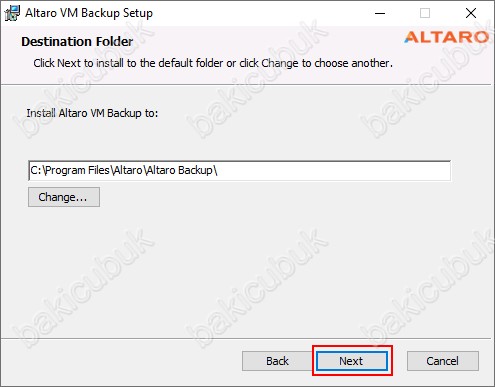
Destination Folder ekranın da Install Altaro VM Backup to bölümünde Altaro VM Backup sunucunuz üzerinde defualt olarak hangi dizine kurulacağını görüyoruz. Change diyerek kurulum yapılacağı defualt dizini değiştirebilirsiniz. Next diyerek devam ediyoruz.
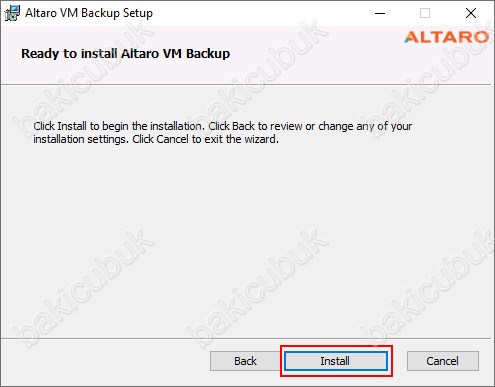
Ready to install Altaro VM Backup ekranın da Install diyerek Altaro VM Backup kurulumunu başlatabilirsiniz. Diğer Backup ( Yedek ) çözümlerinden farklı olarak Altaro VM Backup kurulumunda herhangi bir Database için Microsoft SQL Server kurulumunun yapılmadığını görüyoruz.
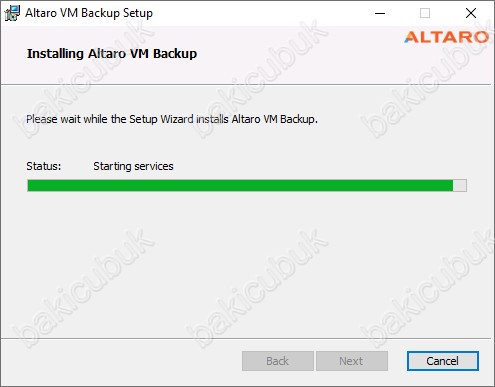
Installing Altaro VM Backup ekranın da Altaro VM Backup kurulumunu başladığını görüyoruz.

Installing Altaro VM Backup ekranın da Altaro VM Backup kurulumunun tamamlandığını ve Altaro VM Backup servislerinin başlatıldığını görüyoruz.
Altaro VM Backup has been installed successfully ekranın da Altaro VM Backup kurulumunun başarılı bir şekilde tamamlandığını görüyoruz. Launch Management Console seçeneğini işaretli olarak geldiğini görüyoruz. Finish diyerek Altaro VM Backup Setup Wizard ekranını kapatıyoruz. Launch Management Console seçeneğini işaretli bırakırsanız direkt olarak Altaro VM Backup Managament Console açılacaktır.

Altaro VM Backup kurulumu tamamlandıktan sonra Altaro VM Backup Managament Console geliyor karşımıza. This Machine işaretliyoruz.
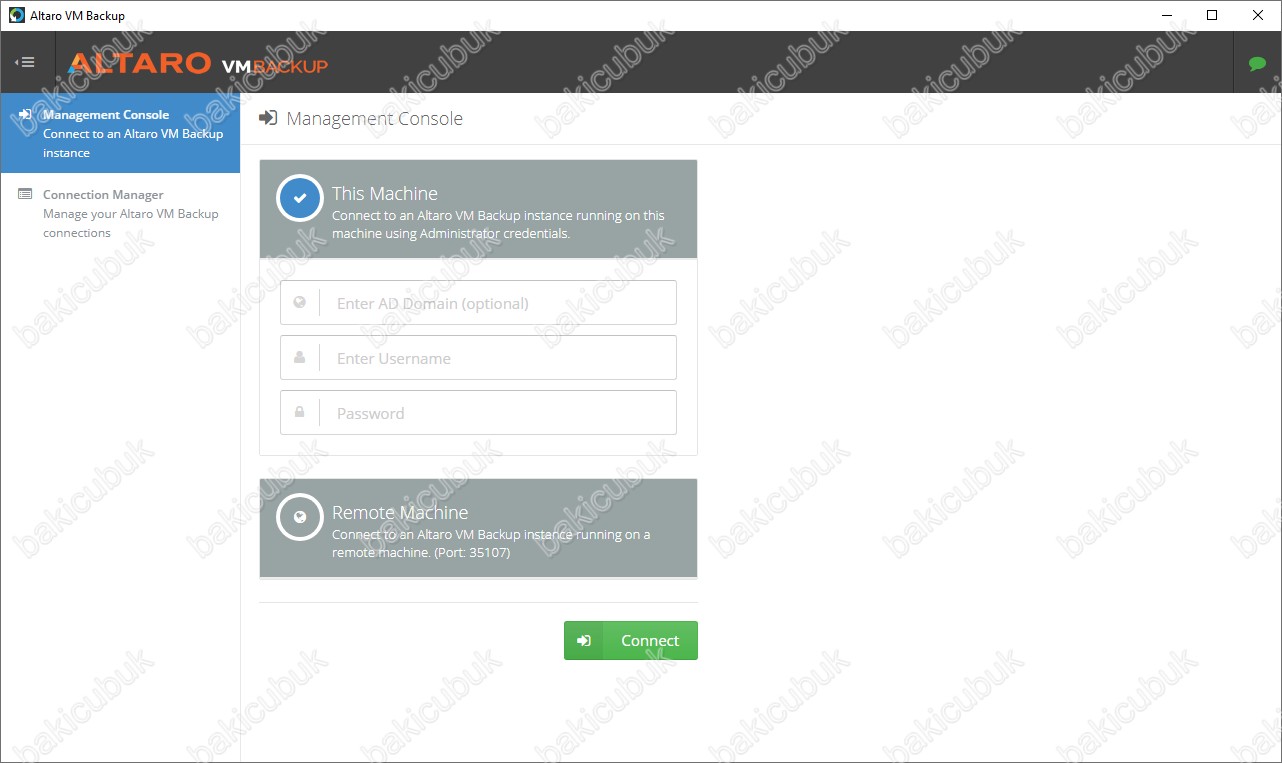
Altaro VM Backup Managament Console üzerinde This Machine seçeneğinde gerekli bilgileri yapılandırdıktan sonra Connect diyoruz.

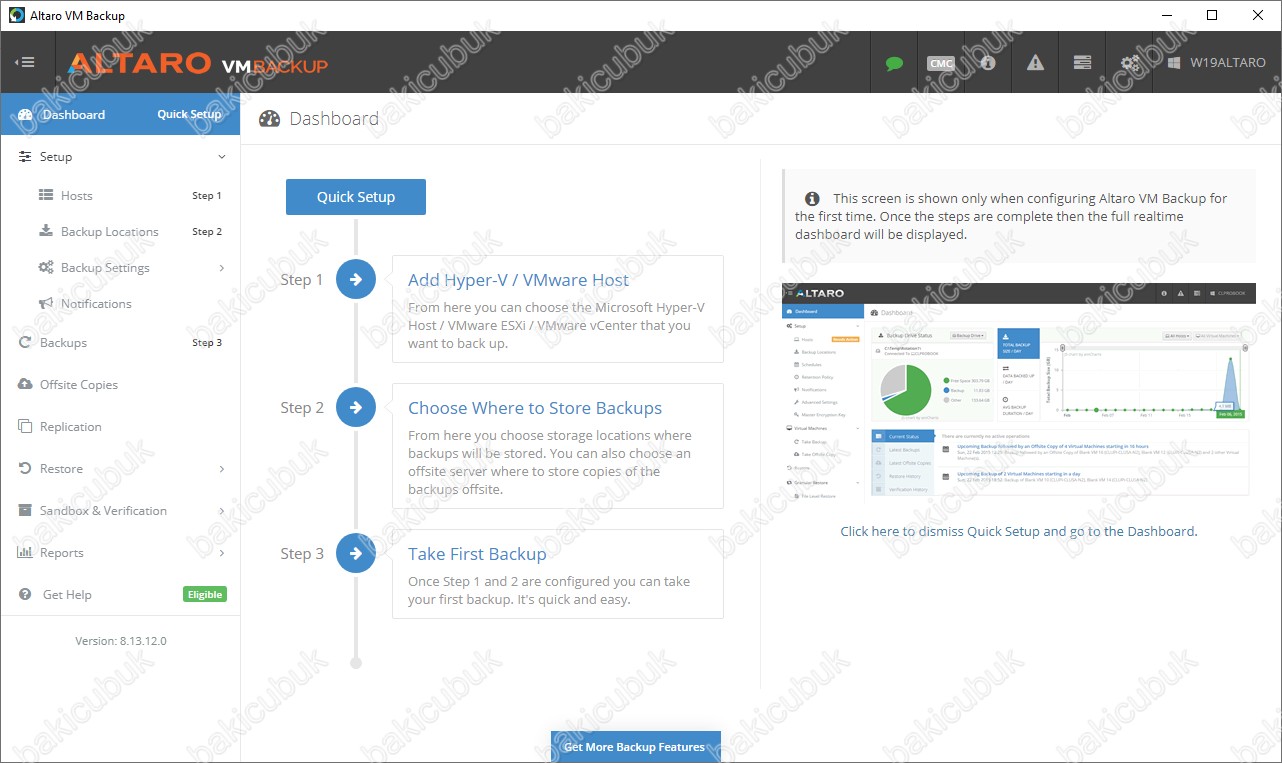
Altaro VM Backup Managament Console geliyor karşımıza.
Başka bir yazımızda görüşmek dileğiyle…